Tuesday, December 21, 2010

Updated chicken pictures! And then there were six!

Howard the rooster is currently residing in Novato in another chicken fans coop (see previous post). Itchy remains with us because at the last minute we were informed that he may still be hen and that we should wait it out. He is definitely a rooster at this point but we'll keep him around until he starts getting to aggressive or wears out his welcome in other ways. Having two roosters for a free ranging chicken flock could be a good thing. We shall wait and see.

Our remaining chickens seem to be doing really well. We, like all of California have had a lot of rain over the last week. The chickens take shelter in the barn and under bushes when rain gets heavy, but for the most part they still patrol the property eating bugs and weeds and Howard's (human Howard's) broccoli plants.

We have been leaving their heat lamp on for about 4 hours after dusk to help them warm up and dry out. The chickens seem to be pretty unaffected by the weather.


This is Sam coming out of the coop. We'll do a post on the coop in a bit.


The gang trying to gain entry!

Lucy front and center.

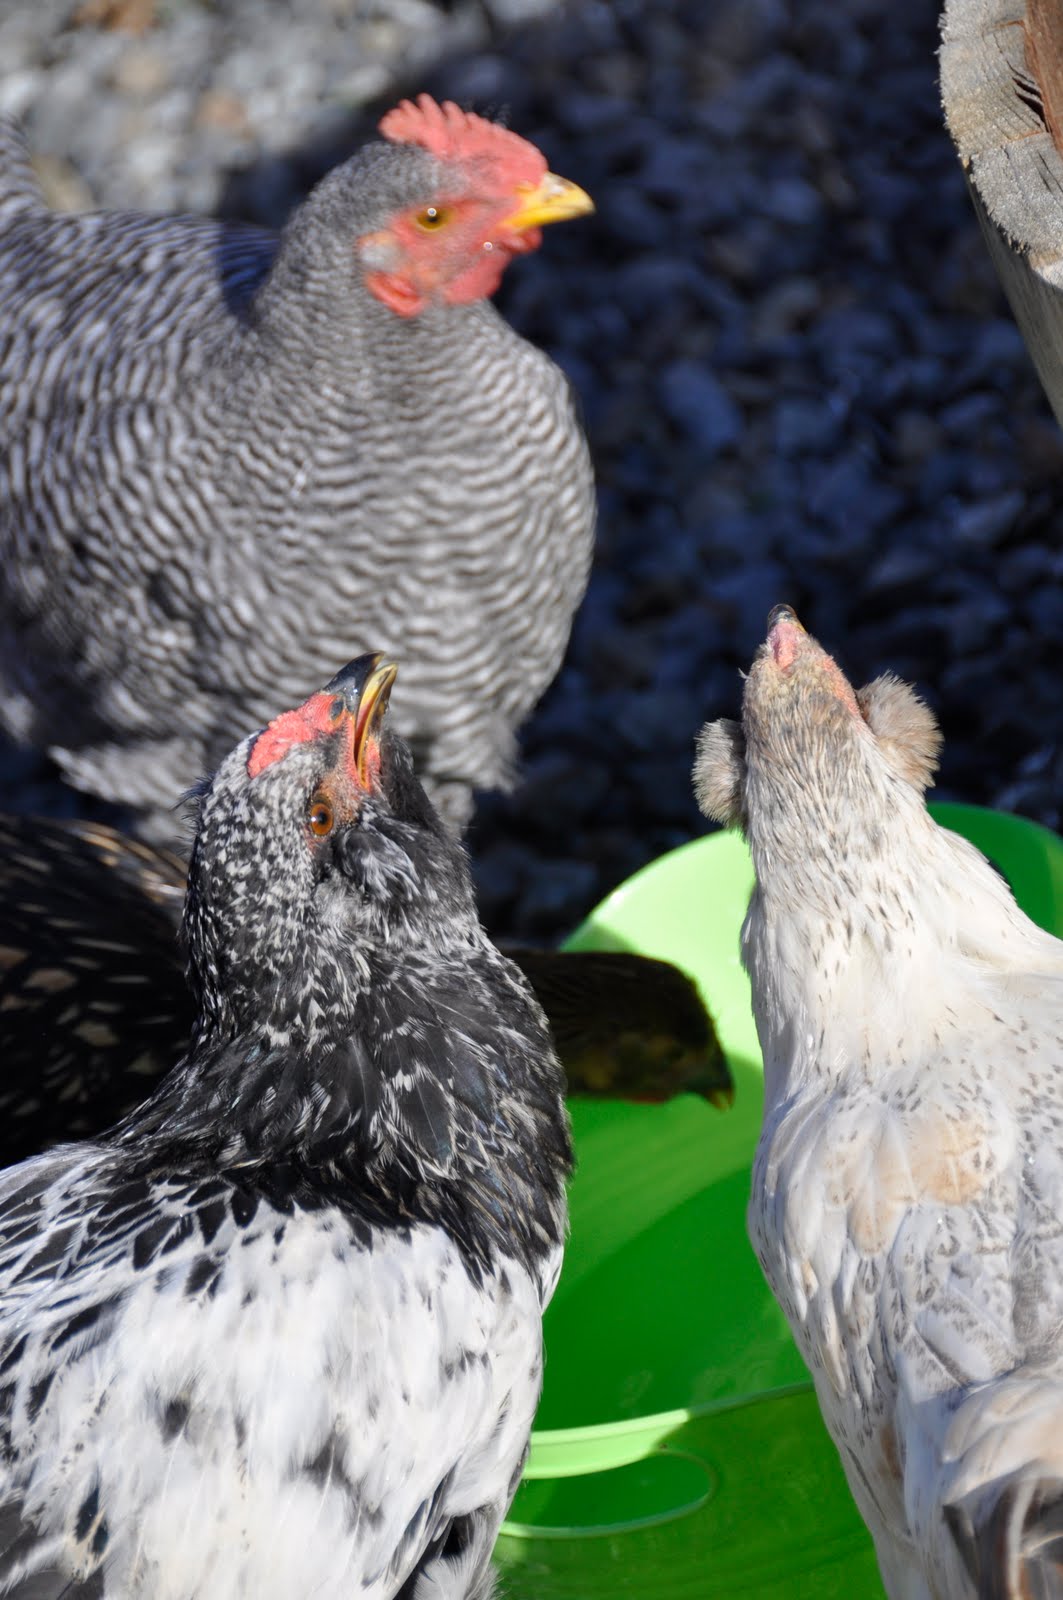
Itchy and Racer 5 getting curious.


Samwise. Photogenic little beast.


Saturday, December 18, 2010

Building a beautiful dining room table in a pretty nice spot.

My good friend JJ has a shop up in McCloud CA. It is near Mt Shasta and actually has a great view of the mountain from the garage.
Mc. Cloud used to be a lumber town and now, as far as I can tell the only lumber facility that is there is Terramai. They sell all reclaimed wood from around the world. Beautiful stuff. I would recommend poking around on their website.

When the mills shut down in Mc Cloud JJ's family had the wherewithal to purchase some of the un-milled wood for future use in his restaurants or in homes or whatever. A lot of the wood is being used in E.J. Phairs brewery in Pittsburgh Ca. Or at least it will be in the near future.


Anyways,

The view from the shop.


Not so bad.

We planed and ripped, all of the floor board looking boards that you see in these pictures to be used as the floorboards in JJ's brewery's tasting room. They are currently seasoning Pittsburgh CA.


Bella, relaxing on the deck.


So we picked out some old floor boards from the mill that were the approximate size of the table we wanted to build and planed one side of the wood and ripped the outside edges. With all of the warpage and the sheer age of the wood, it was a bit like a puzzle putting these boards together so they were flat(ish).

We used a picture form 'The Wooden Duck' as a guide for building the table. Also for motivation to build our own (look at those prices!).


With the tongue and groove already installed from a previous life we just glued the boards together using Titebond Glue. It is the same glue I use on my guitars and it works great! We used tie-down straps to clamp the table together (see picture of the leg assembly). Especially working with something that is this big (and not having clamps that would fit) the tie downs worked perfectly. We then used clamps to flatten the table top out on some strait strong boards and let it sit overnight.

Then: we found the appropriate lumber for the legs and cut it to size and planed both sides. We used 4x4's for the legs and 2x6 for the cross member.

The piece of wood that the leg assembly is sitting on is what the wood looks like un-planed. It is a piece that was eventually used as the table top.


This is the legs almost done. You can see the lag bolts that are holding the legs and cross members together. We used glue and biscuits to hold the frame together.

Check out the table we are assembling the undercarriage on. it is a big steel table with a perfect 90 degree corner and holes for clamping pneumatic clamps. We did not have an air compressor to use the clamps but that table was great!


We used "L" brackets to screw the table top to the leg assembly. Then we sanded the table top down to remove the ridges and...


Here is the table! All together now.
"Here is the table".
See all of the imperfections and quirks! That is what makes it mine!
Next stop, Windsor and finishing (about 2months later)!


Saturday, December 11, 2010

Project Hopyard: Growing Fresh, Organic Hops In Sonoma County


We have had a ton of rain lately in Sonoma County. With a break in the rain today, I set my intentions to complete what has been a project consuming my mind for months: Hops!

For those of you who don't know what hops are, here is one of my favorite websites dedicated to hops: http://www.freshops.com/. It's the little sumpin-sumpin that makes your favorite beers taste and smell great.

Apparently getting fresh, organic hops is not as common as one would think. Especially given that we are living in a mecca of all things local, organic and fresh. Thus, I have resolved to grow my very own, and have all winter to think about which varieties to grow.

I am leaning toward a few varieties of aromatic hops, and no bittering hops, since the aromatics are the ones most delicate and usable in fresh form. However, I have at least 3 months to research this issue and will likely be limited by what varieties the local folks will let me buy.

My first request for a dwarf hop variety was soundly rejected by the local brew supply shop (http://www.thebeveragepeople.com/), so I will either need to find other less-local sources, or submit to stringing a cable 14ft high. I have plans and materials for doing this, but could plant a LOT more hops around the yard if I can find a supplier of dwarves. (Any of you local folks have dwarf rhizomes? If so, let me know!)


Ok - so about our hopyard!


After two sessions of digging, cutting materials, moving compost, and piling all of the ingredients on top of one another, lasagne-style, the hopyard has been prepared is finally ready to stew and make great organic hop soil.


If you look closely at the photo on the left, you can see the cardboard, chicken wire, straw and compost.


Here are some fairly thorough details for how I did ours, in case any of you out there are curious.

Ingredients:
- chicken wire (keeps the gophers out of your precious roots)
- cardboard (keeps weeds out)
- compost. We used our own household compost/worm pit, plus an organic batch we got from Sonoma Compost Company (http://www.sonomacompost.com/).
- weed barrier
- leaves, hay or yard clippings
- optional: crushed oyster shells

After selecting a cool spot for the hopyard (see view from the hopyard below!), we got to work.

Instructions:
Step 1: dig holes about 3 feet apart in a line.
Step 2: cut and place chicken wire into each hole.
Step 3: cut and place cardboard in each hole.
Step 4: sprinkle oyster shells if you have them. This is optional and I only added the oyster shells to Plants 13-22.
Step 5: toss in your compost, layer each type.
Step 6: throw some yard clippings in.
Step 7: another layer of compost mixed with dirt. You should by now have a nice little mound that is about 6-12 inches above the ground. See photo below.

Step 8: place the weed barrier over each mound.

Step 9: dump a large pile of leaves over each mound.

The photo above shows the three types of garden clipping piles I used. From the right: hay, leaves from the apple tree, and leaves from the oak tree. I secretly hope that the hops that come out of the pile of apple leaves will have a hint of apple flavor.

Now...we wait until spring, when we select and order our hop rhizomes to plant in each mound. Fun!

Two other quick digressions:

1. I just changed the hummingbird water and this little zippy creature came right along and started sucking it down. Aren't his wings COOL?


It's the same bird from 2 angles and you can really see the iridescence of the feathers.


2. Racer 5 appears to be jealous of the attention that the hummingbird is getting.


The rest of the chickens took the opportunity to sneak in the house, but Bella chased them out.Here is an action shot of them getting chased out!

Tuesday, December 7, 2010

The Harvest! Aftermath. March of the Zombie Clusters!

Living in the heart of California's wine country it is tough not to see the aftermath of a "difficult" grape harvest.

Grapes that do not reach their potential whither on the vine. Metaphor? Hmmm...


A cold summer, followed by literally scorching heat spells led to a good deal of grape carnage.
Some vineyards lost 20% of their harvest and are grateful for it.


Some let the whole crop rot on the vine.

The grapes that were harvested have a potential of being very good. They may be a little low in alcohol content but because of the extended amount of time they were on the vine the flavors could be complex and unique.


Keep your fingers crossed.

Official crop report is due in February.


Time to prune and prepare for next season.

Thursday, December 2, 2010

Rooster Bingo Part 2! Drama!


Farm Drama! What do you do when you finalize the decision to cull your flock and the first and most widely stated rule of chickes rearin' was broken months ago!

'Don't name your chickens!'

So stewing and beer can chicken (so demeaning but tasty!) are out.


Dropping the roosters off at a farm supply store is an option but the folk I have seen purchasing grown birds from the farm supply are generally looking for a dinner guest. Not a yard guard. So really it is a high risk gamble.

Do you go, under the cover of darkness to a chicken friendly residence or farm (winery!) and throw the bird over the fence? Hoping that he avoids detection during the night and then is welcomed in to the strangers flock in the morning?

All of those choices are fine (well sort of). But the other option, and it is an option in almost all cases is... CraigsList!

Enter Dave. The man with the chicken pen and no full grown roosters, 4 kids who really like the chickens and a father in law who feeds and tend to the birds everyday! Yep. Craigslist comes through again. Howard and Itchy should live a pretty good life with a harem of hens and protections from predators. Wonderful!

Howard and Itchy have been great birds and we will miss them but it sounds like they are going to a great home.

This leaves Samwise as our remaining rooster. This should suit him just fine as he chases the other roosters around the yard and constantly tries to assert dominance. Winner!
We may get him a female cochin in the spring but for now, he'll rein over his brood quite nicely.

Tuesday, November 30, 2010

A quick digression

Our first batch of estate grapes. We have about 5 vines in the back yard and out of control vines along our fence-line on the North side of the property.
24 brix
did not record Acidity (dang).
Notice split grapes. Such a small batch was easy to pick through and discard the bad grapes.


Zinfandel on the vine. Zinfandel is red!
Jammy Raisiny flavors can come from grapes that are a little bit shriveled. A lot of shrivel means most or all of the juice is gone. You can see both kinds here.


Dry Creek Zin!
24 Brix
Acidity .6%
Yip!
We de-stemmed these 65lbs of grapes by hand (it took about 5-6 hours) and then...


Put the grapes in a strainer. Crush them (break the skins) with your fists or digits over a bucket and...


Put it all in a bucket and thus, must!

Our first 'estate batch' was fermented in an Igloo brand drink cooler (see photo of acid testing).


End digression.

Sunrise 11/30/2010


Waking up at 6:30 for work has its advantages.


Click photos to make them larger


Sunrise Oak Detail. Mmmm zoooom...

Sunday, November 21, 2010

Making Wine Part Four! Altering the course of grape juice!

Actually making wine!

Once the must is happily starting to stew in it's own juices, add metabisulphites (SO2,sulphites) and yeast.
The sulphite is added as cambden tablets in some ratio that I wrote down, calculated and forgot. I'll look it up and post it soon.

Measurements:
Brix (sugar content) can be measured by a weighted, metered floaty stick called a hydrometer.
Liquid with sugar dissolved in it has a higher density then liquid with sugar that has been converted to alcohol. Or, sugar, once converted to alcohol makes liquid less dense. Or, alcohol makes liquid less dense... The hydrometer sinks as alcohol is produced thus allowing you to calculate alcohol level.
On this batch my final of the season, The brix (sugar content) measured 25 when I first brought the grapes home. You divide the original brix reading of 25 by 2 and figure an alcohol content of around 12.5.


Now check the acid level. I am using the $8 acid test kit which strangely turns the grape juice pinkish red to start with as you add indicator solution. When the must turns gray, record the acid level. In this case .45 to low. So add Tartaric acid. 1 ounce ups the level by approx .15% per 5 gallons. Re-check. Final level .75 on this batch. You want a level between .6% and .75% for red grapes.


Yeast!
Everything that I have read has suggested emphatically that you add yeast 8 hours after adding sulfites to allow the sulfites to work and evaporate. I added mine within about an hour and so far, no ill effects.
Yeast eats sugar and produces alcohol while off gassing CO2. As a tour guide at the Rouge Brewery tour put it
"Yeast eats sugar, pees alcohol and farts CO2 and we adults love it! We'll drink that stuff all day."

It is actually true. The CO2 is captured in sparkling wine and beer etc... and it carbonates the beverage. In wine making, CO2, being heavier then O2, sits on top of the 'must' or wine and protects it from getting over oxygenated. When the CO2 production slows down, you remove the liquid from the skins and transfer it to a more controlled environment. In my case a 3 gallon carboy!

When the floaty hydrometer sinks to the point where it reads '1' instead of its original reading (in this case '25') it is time to transfer the wine.

I am using 3 gallon plastic carboys as opposed to the usual 5 gallon for fear of completely blowing it and making vinegar. In hind site I would just go ahead and make a 5 gallon batches because the amount of labor would be similar but the amount of wine would be greater.

As you can see here, my sophisticated method of wine making includes a nylon mesh bag a funnel a ladle and a carboy. I apologize for the lack of detail photos but my hands were sticky and slowly getting dyed deeper and deeper shades of purple during this process.

Ladle grapes into mesh bag,that is placed on a funnel, that leads to the carboy.
Twist
Mash
Smush
Squeeze
Empty smushed grapes into your compost pile
Repeat.

Add sulfites

Next:
Top carboy with a bubbler. The bubbler or air lock is a one way valve that allows CO2 out and does not allow O2 in.
Now relax! You just started the last stage of a process that will turn a great kids drink in to a hopefully sophisticated adult beverage that will compliment a steak or something!

Next step racking!

Wine Making Part Three! Supplies!


This is all I that I used for my batches of wine (as far as the "technical stuff").

1) Hydrometer: ($18) Measures the sugar level 'Brix' when the wine is 'must' and then before crush to tell you the alcohol level
2) Acid test kit: ($9) Tests acid level. (Duh.)
3) Sanitizer: ($4) There are many sanitizers but this one is special because it is mine. Sanitize anything that is in contact with the wine or must.

4) Yeast: ($1.95) Many types of yeast out there. 'Prise de Mousse' was the one suggested by 'The Beverage People' where I got my supplies. So far so good!

5) Yeast Nutrient/Yeast food: ($1.95/$3.95) Adds nitrogen to the must which helps to clear the wine, and ages it a little faster.

6) Tartaric Acid: ($2.95) Adds acidity to under (um) acidic wine.
7) Campden tablets: ($.95) Sulfites! Helps to kill mold and beasties in the must and wine. People don't tend to like this stuff. Some people are allergic to it. I don't know enough to argue it either way. I added about 5 parts per million which is not that much. If I feel like the wine needs more I'll add it. I'll go light on it.
8) Irish Moss: ($.99) Smells like rotten seaweed but is used in beer and wine making to clarify the finished product. Apparently it does not impart any smells or taste.
9) Food Grade Bucket: ($30-$85 or so) (Pictured in previous post) Other buckets may work but they may impart flavors or chemicals. I used a 20 gallon which works well for 60-70 lbs of grapes.
10) Siphon Hose: ($6)
11) Carboy: ($26-$35ish)Varies in price depending on materials that it is made out of usually either glass or plastic, and size, usually 3 to 5 gallons.
12) Mesh bag ($5) I used this to crush the grapes and strain out the seeds and skins.
13) Funnel ($6ish) used during the crush to get the wine from the mesh bag in to the carboy.
14) Air lock ($3.50) get a few of these and corks with holes in them that will fit in every size jug or carboy that you may use to ferment wine in.
15) Gallon jugs. ($4.50) Have a few of these around just in case you have extra wine during your crush.

That is about it. In total $120 ish and you have enough to get going. Most of the gear can be re-used and additives like the tartaric acid, Campden tablets, tartaric acid and even yeast, have enough material to be used in future batches. So once you splurge on the up front costs of gear your future batches will only require, paying for grapes, upgrading material and the minimal costs of additives. Not to shabby.

Next post Using the stuff!

Wine Making part two! Grapes to must!

Fill the bucket! Apparently about 30 lbs a piece.


Carry it all the way up to the home where awaits...


A crusher de-stemmer! This device will swat the grapes off of the stems and spit the stems out of the side of the machine while the crushed grapes slide, or stick until they are pushed out of the little slough at the bottom of the machine. It takes about 2 minutes for 60lbs of grapes.

Our first batch of zin which was about 70 lbs took about 6 hours of combined work between my wife and I to de-stem and crush. It was a good exercise and really, the overly raisened grapes were easy to pick out and discard so it was probably a good thing we did it the old fashioned way but yeesh! It took forever. Books on tape were good here.

Also, not every grower will make a de-stemmer available to you. Especially for small batches it may not be worth the $30 you are paying for their grapes for them to clean there machine. You may be able to schedule a time when the grower knows that the machine will be in use for another larger buyer or, they may charge you an extra fee or you can commit and do it by hand. You could also rent one.

Next, Take the food grade bucket of smushed grapes home and sit it in a corner of the room and put the lid on tightly!
Fruit flys love grape juice! Those little buggers hone in on this stuff like pigeons to bread crumbs, then seemingly reproduce like caffeinated bunnies. All of a sudden you have a kitchen that is difficult to drink wine in much less make it.


Yeah, next time I'll take a little more time to clean up all sorts of little juice spots and I may just put the bucket on the porch or in the barn depending on the outside temp.
(Next! The gear you need to make this bucket of grape juice in to tasty wine!